Vielleicht liegt es an der Jahreszeit, aber momentan liebe ich einfach alles, was ein Geweih hat. Und wenn es dann dazu noch silbern ist und/ oder glitzert, dann bin ich auf jeden Fall Feuer und Flamme!
Auf Pinterest bin ich dann auf diese weihnachtliche Deko-Idee gestoßen (auf das Bild klicken für den Original-Blogpost):
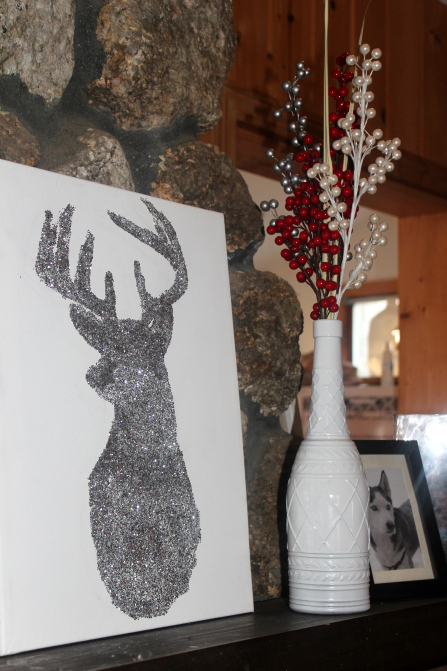
Geweih, Silber, Glitzer – der Plan war gefasst! Ich besorgte also schon vor längerer Zeit alle benötigten Utensilien, aber gestern hatte ich endlich die Zeit und Muße, das Projekt in Angriff zu nehmen.

I don’t know if it’s the season, but currently I’m a sucker for anything with antlers. And if it’s silver and/ or sparkly as well, I’m completely sold! So when I came across this DIY decoration idea on Pinterest, it didn’t take long for me to decide that I was going to make my own. I had already bought everything I’d need a couple of weeks ago, but yesterday I finally got around to actually making it.
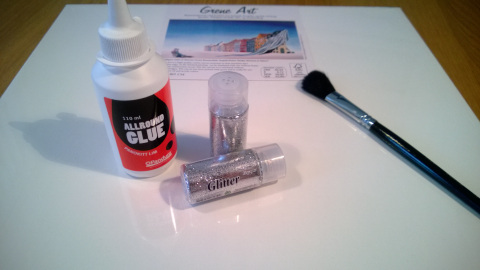
Material: eine Leinwand (ich habe mich für 40x40cm entschieden), Universalkleber (flüssig, am besten mit einer recht dünnen Dosierspitze), silber- oder goldfarbener Glitter zum Streuen (jede andere Farbe geht natürlich auch), schmaler Pinsel, Bleistift.
Material: canvas (mine was 40x40cm), universal glue (make sure it has a thin tip), glitter in silver, gold or any other color you like, a brush and pencil.
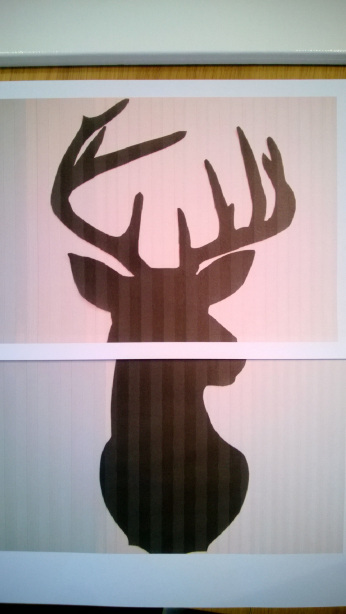
Als nächstes musste natürlich die Silhouette ausgewählt werden. Diese habe ich dann in der gewünschten Größe ausgedruckt.
Next, select the deer silhouette you want to use and print it in the desired size.
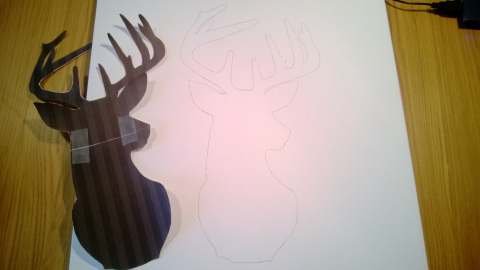
Die Silhouette ausschneiden und nach Bedarf zusammenkleben, um sie als Schablone nutzen zu können. Anschließend mit einem Bleistift die Umrisse auf die Leinwand übertragen.
Cut out the silhouette and tape together, if necessary, to use as a stencil. Trace the shape of the deer silhouette on the canvas with a pencil.
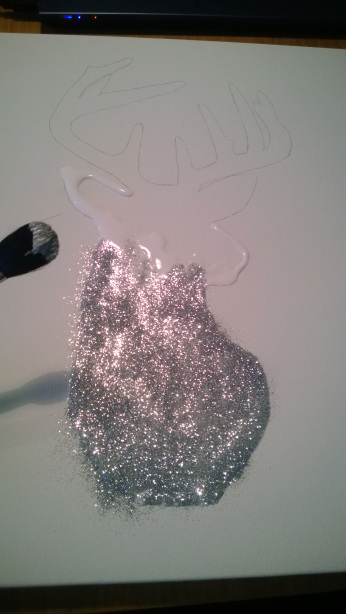
Nun mit dem Kleber vorsichtig die Umrisse ausfüllen. Dabei darauf achten, dass die Bleistiftränder nicht mehr zu sehen sind. Anschließend den Glitter großzügig aufstreuen.
Fill in the silhouette with the glue, making sure that the pencil frame is not visible any more. Generously apply glitter.
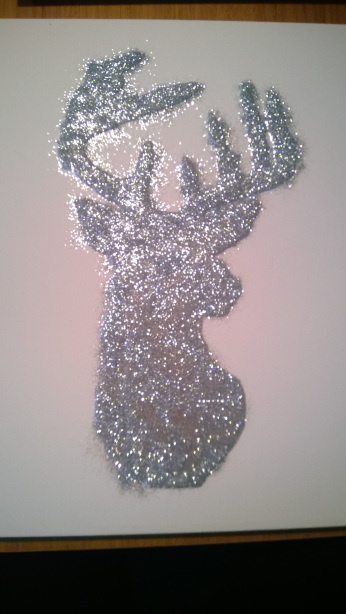
Entsprechend der Anweisungen auf dem Kleber trocknen lassen. Nach dem vollständigen Trocknen den überschüssigen Glitter abschütteln und gegebenenfalls die Ränder begradigen. Tipp: Zum Schluss mit etwas Haarspray fixieren.
Let dry following instructions on glue bottle. After it has dried completely, shake off any excess glitter and clean the edges, if necessary. Tipp: Apply a thin layer of hair spray to hold glitter in place.
 (vor dem Trocknen/ before drying)

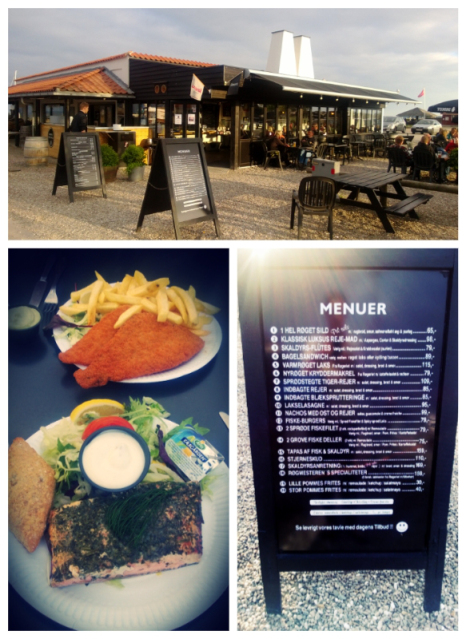
 Johannisbeeren-Schnecke zum Frühstück – delicious Danish pastry for breakfast
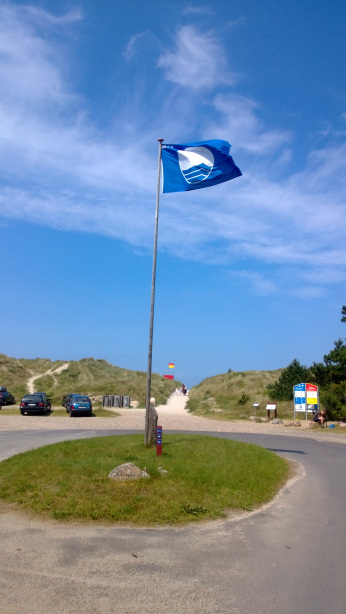
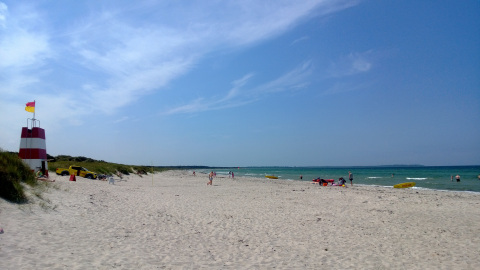
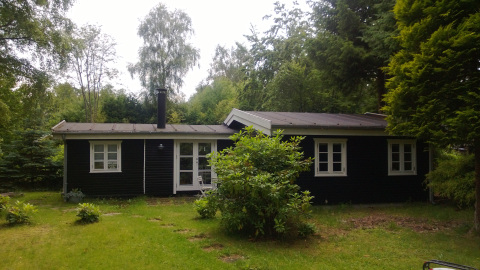
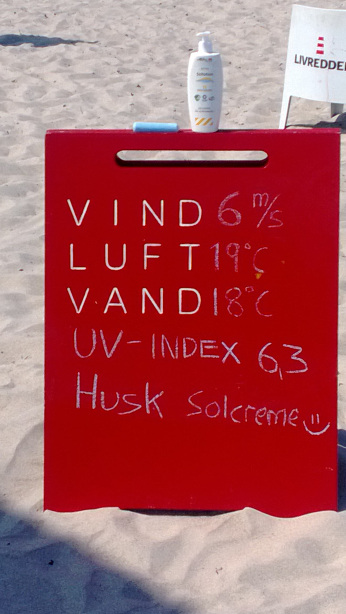 Am Strand! Sonnencreme nicht vergessen! – At the beach, remember your sunscreen!

![WP_20131126_003[1]](https://thecopenhagentales.com/files/2013/12/wp_20131126_0031.jpg)
![WP_20131126_005[1]](https://thecopenhagentales.com/files/2013/12/wp_20131126_0051.jpg)
![WP_20131126_008[1]](https://thecopenhagentales.com/files/2013/12/wp_20131126_0081.jpg)
![WP_20131126_010[1]](https://thecopenhagentales.com/files/2013/12/wp_20131126_0101.jpg)
![WP_20131126_014[1]](https://thecopenhagentales.com/files/2013/12/wp_20131126_0141.jpg)
![WP_20131219_004[1]](https://thecopenhagentales.com/files/2013/12/wp_20131219_0041.jpg)