Celebrating The Copenhagen Tales’ first birthday with a Danish “julelagkage”

Ladies and gentlemen, I’m proud and humbled to announce that today is The Copenhagen Tales’ first birthday!

A year ago, I changed jobs and suddenly found myself with much more time on my hands and the need for a creative outlet, so I set up a free WordPress site and started rambling away. I’ve always been someone who likes to share - my thoughts, what I like, what I see, what I feel. And being an expat definitely gives me a lot of opportunity to discover new things to wonder about, enjoy, but also dislike. And I am glad I’ve found a way to share them - hopefully even to the benefit of others.

A year of The Copenhagen Tales - 136 posts, 33.000 visits to the site, over 600 followers, countless hours spent researching, writing, photographing, editing, and learning the technicalities of maintaining a site and the ropes of blogging. I attended a blogging conference, learned a lot and made new friends. And this is hardly the end - I have many visions that want to be matured into real plans, and I want to take The Copenhagen Tales to the next level. I’m not going anywhere, and I hope you aren’t, either! I’d like to say a heartfelt THANK YOU (or tak!) to each and everyone of you who comes to my blog, reads my articles, shares their thoughts in the comments, visits my Facebook, Twitter, Instagram or Pinterest pages, or pings me an email. I’m so honored that you want to come here and hear what I have to say, and I hope we can keep the discussion going!

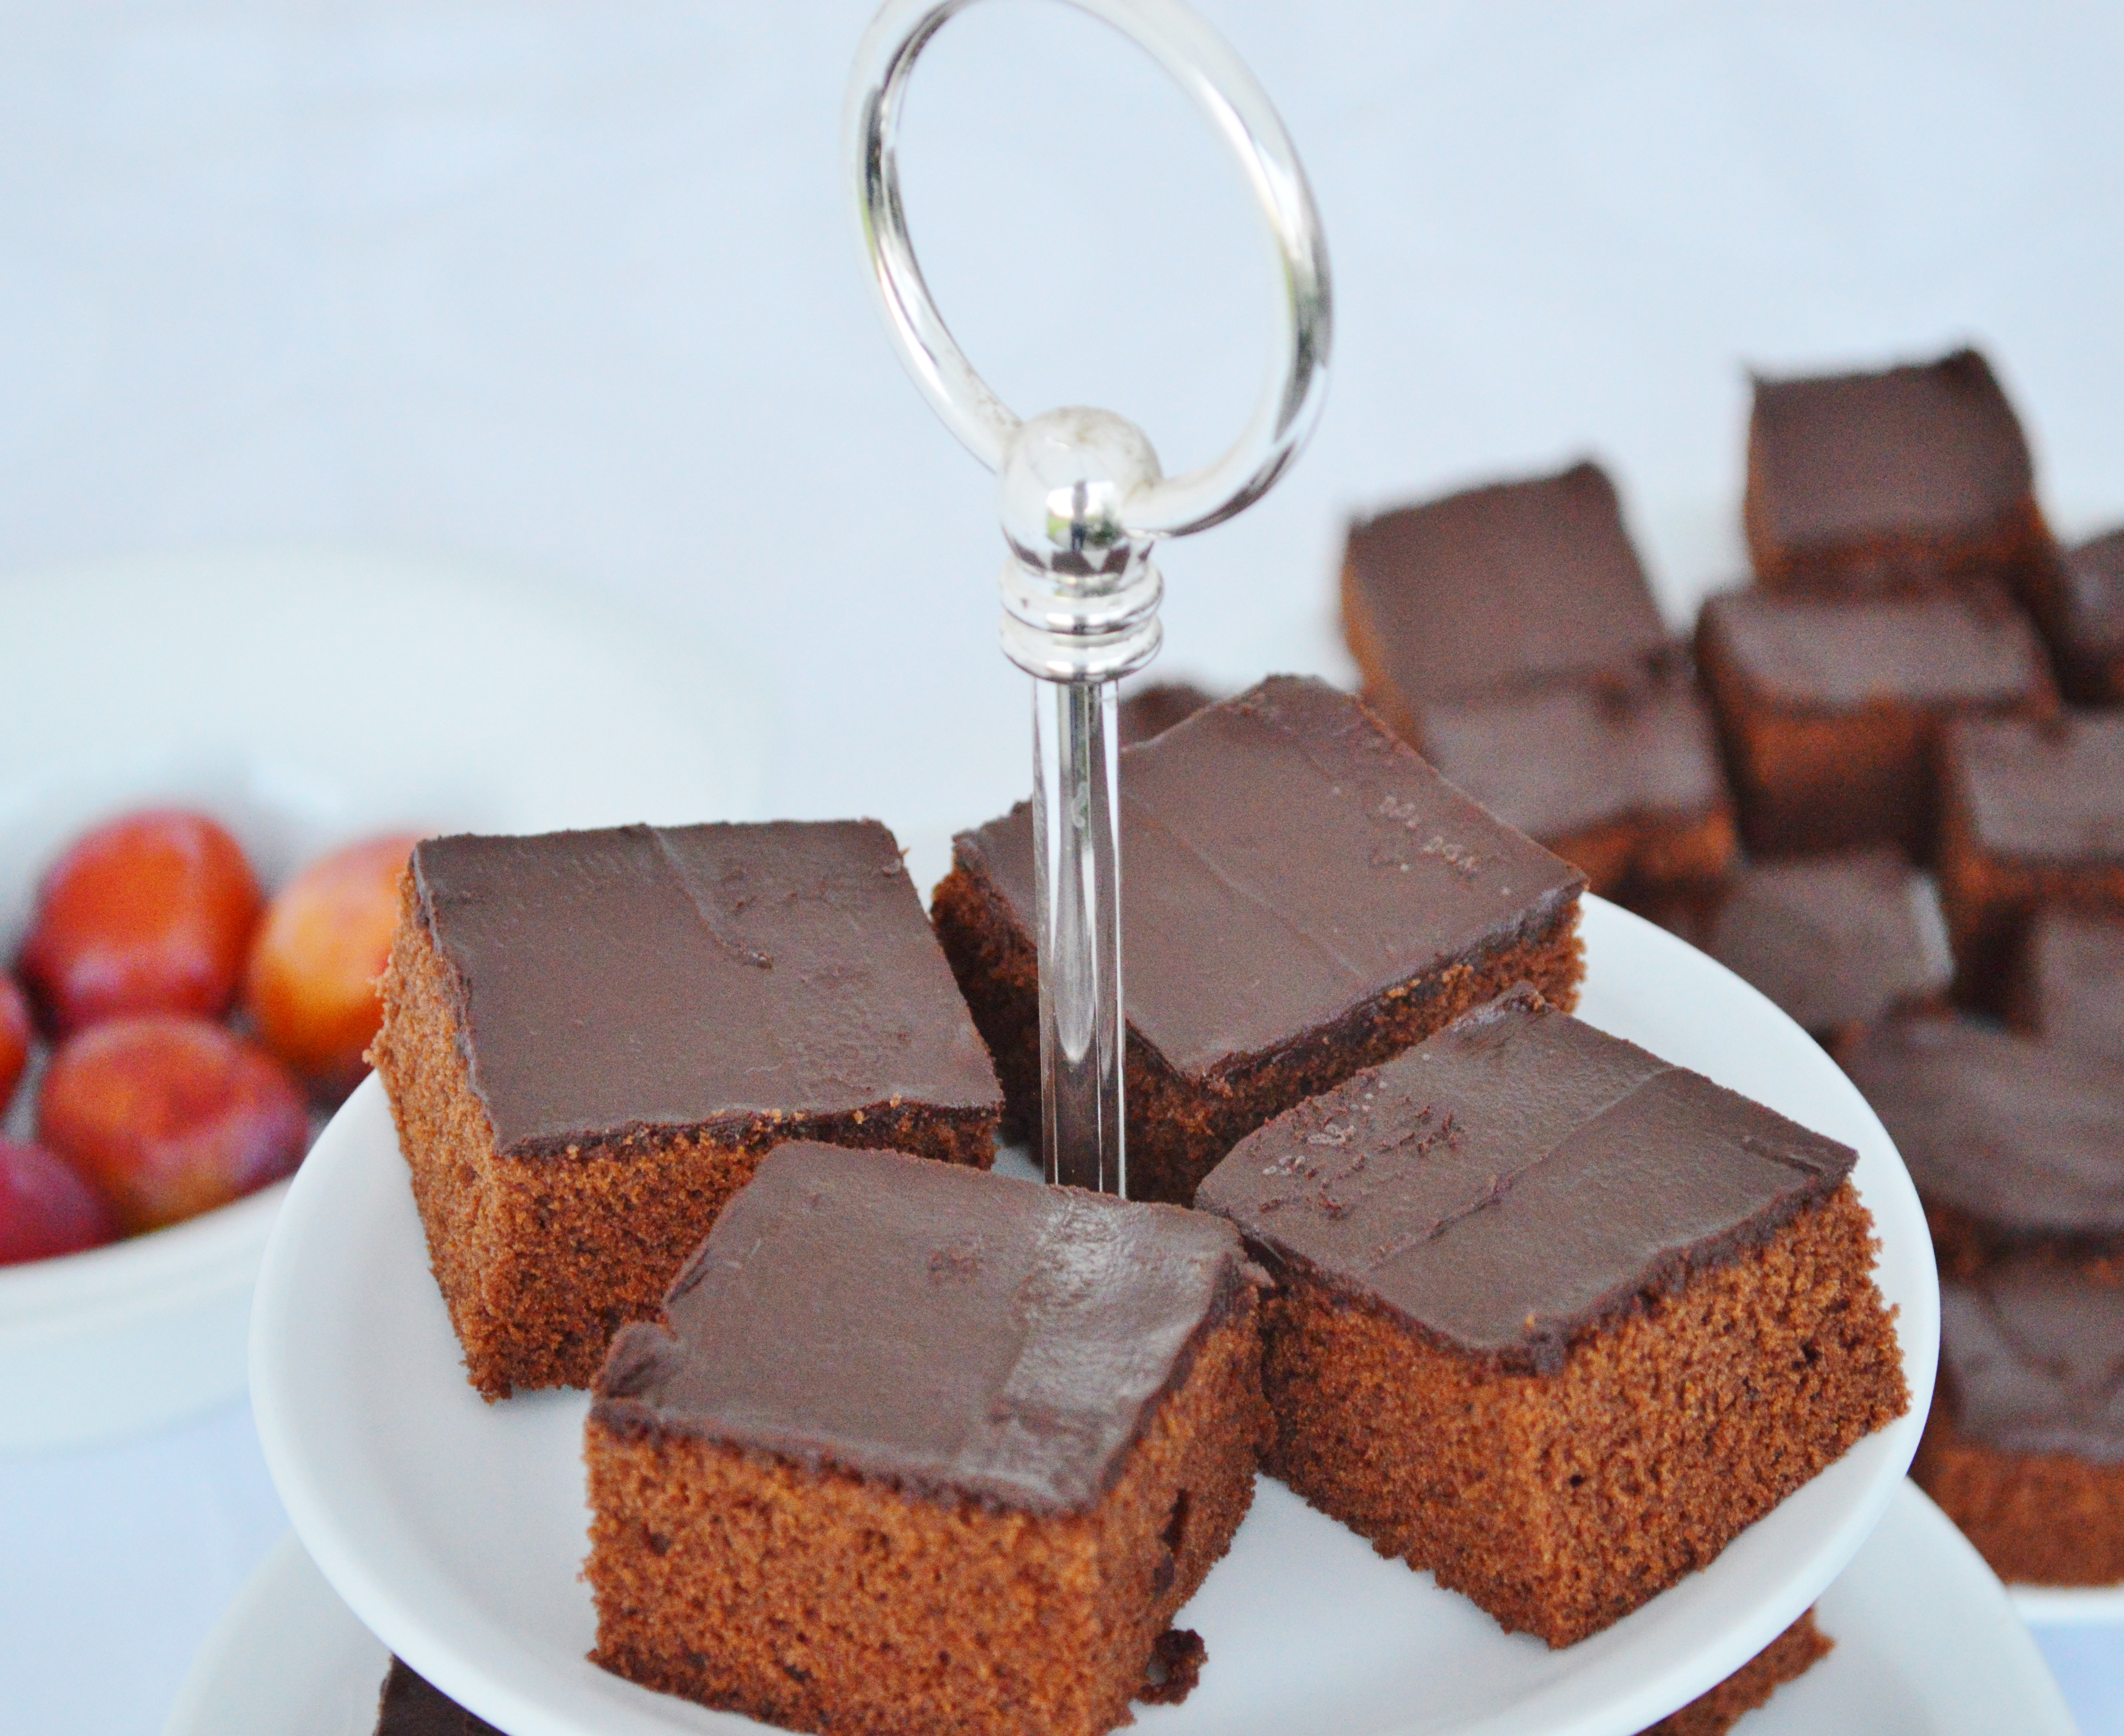
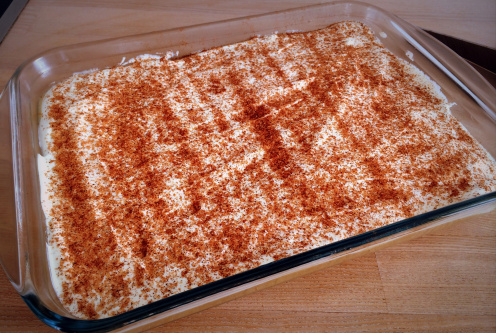
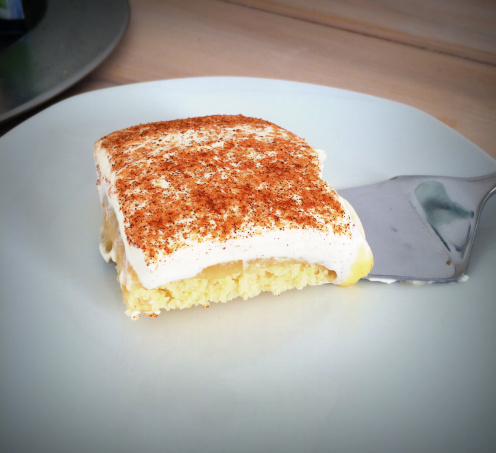
Now, let’s crack open a bottle of champagne and clink our glasses to celebrate! Oh, and what would a birthday in Denmark be without a good old “lagkage” (plus flags, of course!). Seeing as we’re in full-on Christmas mode, I gave this one a festive twist!

Processed with VSCOcam with f2 preset

Julelagkage with cherries, orange, and cognac

3 “lagkagebunde” - (example recipes here and here, or you can get a store-bought one)

400ml heavy cream

200g mascarpone

1 glass of Danish cherry sauce (kirsebærsovs)

1 orange (organic)

1 tbsp brown sugar

1 tbsp cognac

cinnamon, to taste

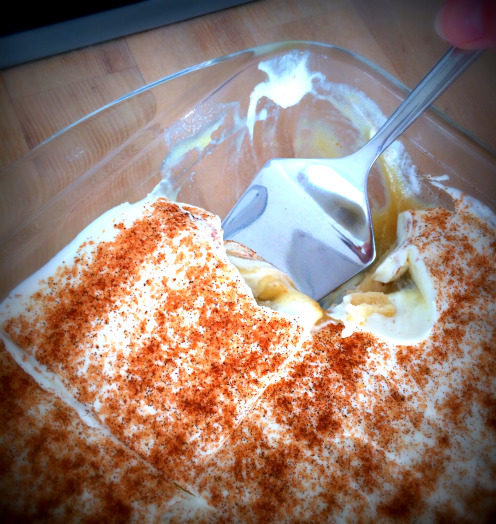
Make sure the “lagkagebunde” are fully cooled off. Add the sugar to the cream and whip until stiff. Add the mascarpone, cinnamon, and some orange zest (about 1 tsp) and stir to combine. Add the cherry sauce and fold in. Squeeze the juice from the orange and mix with the cognac. Moisten the first lagkagebund with about a third of the juice-cognac mix, then spoon on about a third of the cherry cream and distribute evenly. Carefully put the next one on top and softly press down. Repeat the previous steps for the remaining lagkagebunde. Refrigerate for about an hour before serving, and don’t forget to decorate with little Danish flags!

Processed with VSCOcam with f2 preset

Chocolate, please! Delicious and easy chocolate sheet cake with Baileys

Now, I originally meant to lead into this post with the words “who doesn’t love chocolate?”, obviously meant as a totally rhetorical question, but then I remembered that I actually have a colleague who DOES NOT LIKE CHOCOLATE. Yeah, I’m still just as baffled as you probably are right now! In our cantine, we get cake every Wednesday (gotta love Denmark!), and more often than not, he has to pass because it’s chocolate cake, or there are chocolate chips, or it has a chocolate glaze. So he probably wouldn’t appreciate this cake very much.

But you and me, on the other hand, are part of the estimated 99.99% of mankind who actually DO like chocolate - how could you not? It’s so amazing and versatile! This time, I tried my hand at a classic for a the birthday garden party I showed you last Sunday. I’ve had a bottle of chocolate Baileys sitting in my shelf for a couple of months now, and it was begging for attention. So I whipped up this beauty of a cake, and I have to say, I love how fluffy it turned out! It’s also quite open for variations: instead of Chocolate Baileys, you could of course also use the regular kind, or substitute it with brewed coffee. Or coconut milk, and add some shredded coconut. Or chopped almonds…

But here’s the version I made, which turned out double-yum! For the coating, I used dark chocolate, which I melted with 3 tbsp. of the Baileys. I had sent my boyfriend to do the shopping, and he didn’t know the difference between normal chocolate and the special coating chocolate (which melts more easily), so I ended up with a rather creamy mixture, closer to a ganache than a coating, but I managed to spread it nicely, and the taste was great.

chocolatebaileys2

Chocolate sheet cake with Baileys

(yields one large baking sheet)

250g butter, softened

250g granulated sugar

375g all-purpose flour

50g dark cocoa powder

5 eggs

2 tsp. baking powder

1 tsp. vanilla sugar

350ml Baileys Chocolat Luxe

For the coating/ glaze:

200g dark chocolate

3 tbsp. Baileys Chocolat Luxe

Pre-heat oven to 180 degrees celsius. Line a large baking sheet with baking paper. Cut butter into small pieces. Add all ingredients, apart from the flour, into a big bowl and mix together, using a kitchen machine. When combined, add the flour and keep mixing until you have a smooth consistency. The mix will be relatively thick. Pour onto the baking sheet and spread as evenly as possible (it will get more runny in the oven and then even out more on its own). Bake for 20min, until a wooden stick inserted in the middle comes out clean. Let the cake cool off, then melt the chocolate for the coating together with the Baileys, and glaze the cake evenly. Decorate with sprinkles, shredded coconut, chopped nuts,… if desired.

chocolatebaileys1

chocolatebaileys3

Almost healthy Sunday cake

It’s been a good weekend, with a quick trip to IKEA so I can get my picture wall project going, and then a very chill Sunday. And what does a Sunday need, apart from a nice clear blue sky and some actual sunshine? Cake! I have been craving cake and itching to get baking again, so what better thing to do on a Sunday afternoon?

I decided to make one of my favorite cakes. It’s a white sponge cake bottom, with apple sauce and a whipped cream on top, sprinkled with cinnamon. And it is oh so good!!! Normally it’s intended for an entire baking sheet, but I used the baking form I normally use for brownies (approx. 30x20cm) for about half the normal recipe. And since I replaced the heavy crème fraiche in the recipe with low-fat “kvark” (there really is no English equivalent, although this site offers some replacement ideas) and replaced the oil in the dough with apple sauce, it totally counts as healthy. And it turned out perfectly! It tastes fresh, even with the whipped cream in the topping, and the combination of apple and cinnamon is just perfect. I’m sharing the recipe below.

apple sauce cake2

(Almost) Low-fat apple sauce layered cake

(for one ca. 30x20cm baking dish)

Sponge cake:

1,5 cups (ca. 180g) all-purpose flour

1 cup (ca. 200g) sugar

1/2 cup (ca. 120g) unsweetened apple sauce

1 egg

1 tsp. baking powder

Topping:

2 cups (ca. 500g) unsweetened apple sauce

1 cup (250ml) whipping cream (or low-fat replacement like Cremefine)

2 cups (ca. 250g) kvark/ fromage frais (low-fat)

2 tsp. brown sugar

cinnamon and sugar to sprinkle

For the dough, mix flour, sugar, egg, apple sauce and baking powder and beat until smooth. Grease a 30x20cm baking dish and pour the dough in. Make sure it spreads evenly. Bake at 175°C for approx. 20min. Test with a toothpick that it is baked all the way through. Take out of the oven and let cool completely.

For the topping, add 2 tsp. brown sugar to the heavy cream and whip until stiff. Carefully mix with the kvark/ fromage frais until smooth. When the sponge cake has completely cooled, spread an even layer of apple sauce across. Top off with the cream mix and spread evenly. Sprinkle cinnamon and brown sugar on top. Cool in the fridge for about 2 hours before serving.

We finished about half the cake already on Sunday (ooops!), and I’ll finish the last piece today (sniff!). I’ll sure be making this again soon!! The great thing about it is that the sponge cake really soakes up the fluid from the apple sauce, and it tastes even better on days two and three (if it lasts that long).


apple sauce cake1

apple sauce cake3